Last updated November 17, 2026


Free written scope consultation - allowances, timeline, and change-order rules on paper before a single trade is scheduled
Driveway & Pavers Maintenance Checklist for The Hammocks Homeowners
A freshly sealed paver driveway that rocks underfoot is already failing. That’s the counterintuitive truth about hardscape upkeep in The Hammocks: homeowners tend to judge a driveway by what they can see, so the sealant gets reapplied while the base underneath quietly loses its grip on the soil. In South Florida, water is the real opponent, and it attacks from below, not above. This checklist flips the usual priorities. We’ll walk through pre-wet-season drainage inspections, how to tell base settlement from ordinary joint sand wear, which pavers and jointing sands survive our heat-humidity-rain cycle, the post-storm walkthrough that tells you whether to reset or rebuild, and a sealing schedule built for Florida UV rather than a label printed for Michigan. You’ll finish knowing exactly what to check twice a year and when a small repair is about to become a full re-base.
Quick Answer
Paver maintenance in The Hammocks comes down to inspecting drainage slope and edge restraint before the wet season, not after, because most paver failure here starts as base-layer settlement under saturation rather than surface wear. Check twice a year for rocking stones, sunken edges and joint sand loss, keep joints topped off, and seal on a Florida-calibrated cycle instead of the national label interval. If a paver moves underfoot or water puddles against the house, that’s a base problem and the surface product is not the fix.
Styles & brands we work with
- Kitchen remodeling
- Bathroom remodeling
- Home additions & ADU
- Roofing
- Windows & doors
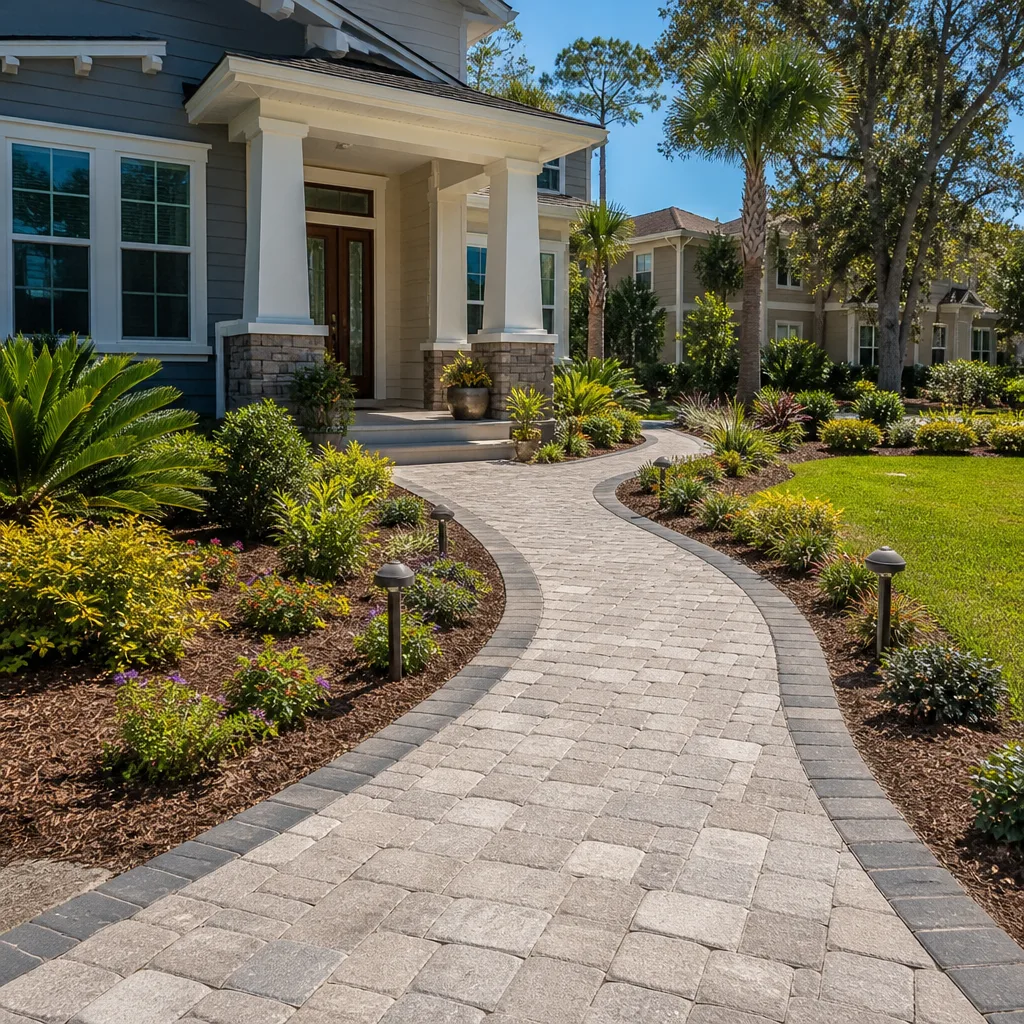
- Driveway & pavers
- Fence
Table of Contents
- Why Paver Driveways in The Hammocks Fail From the Ground Up
- The Pre-Wet-Season Inspection Checklist
- Base Settlement vs. Joint Sand Displacement: How to Tell Them Apart
- Which Pavers and Jointing Sands Hold Up in The Hammocks
- The Post-Hurricane Paver Assessment
- Sealing on a Florida Schedule, Not a National Label
- Edge Restraint and the Details Most Homeowners Skip
- Common Mistakes to Avoid
Why Paver Driveways in The Hammocks Fail From the Ground Up
Most of what shortens the life of a paver driveway in The Hammocks happens below the surface you hose down on a Sunday morning. The surface layer is doing what it was designed to do. The problem is the layer it sits on.
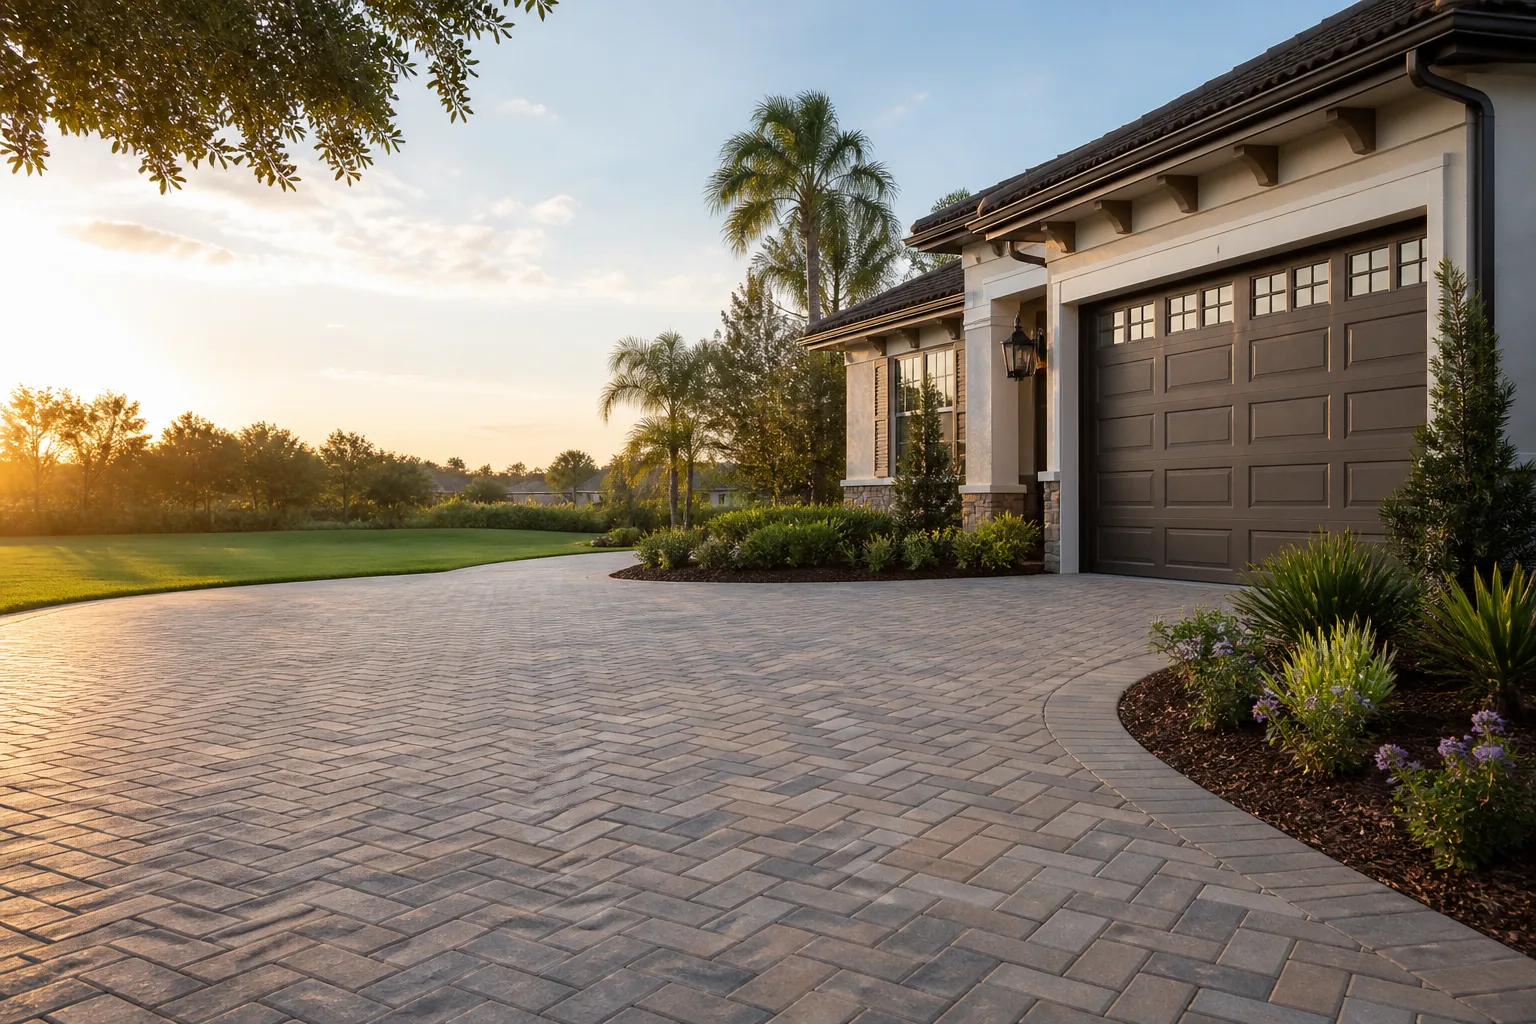
A paver driveway is a layered system: compacted subgrade at the bottom, a compacted aggregate base above it, then a thin bedding sand, then the pavers, then joint sand swept into the gaps. Each layer carries load and moves water. When the base stays tight and drains, the pavers barely notice the traffic on top of them. When the base takes on water it can’t shed and loses compaction, the pavers above it have nothing solid to bear on. They rock, they tilt, the joints open, and sand starts disappearing into the gaps faster than you can replace it.
That sequence is the whole story of hardscape failure in The Hammocks. Our wet season delivers weeks of heavy rain followed by fast drying, and the ground under a driveway goes through wet-up and dry-out cycles that a paver system has to absorb. On top of that, this part of South Florida sits on shallow limestone with soil that shifts more than most homeowners expect. In our experience, a paver driveway that looks perfect but moves underfoot is telling you the base has opened up somewhere and the water is finding it.
This is why we tell homeowners to think of maintenance as structural monitoring first and cosmetic upkeep second. Raking, blowing and re-sanding matter. They just can’t compensate for a base that’s given way. Getting the base right is also why our driveway & pavers work starts with subgrade preparation and compaction testing rather than the paver selection, and why we push back on any quote that doesn’t.
What actually stresses a paver system here
- Saturation: sustained wet-season rain that soaks the base faster than it can drain away from the house.
- Flat or reversed slope: water that should sheet off the driveway instead sits against an edge restraint or a garage threshold.
- Poor compaction at install: a base that never hit the right density starts settling early and never stops.
- Sand loss through joints: a joint that stays open funnels water straight into the bedding layer.
- Edge movement: if the perimeter can spread, the pavers behind it start to separate.
Notice that surface traffic, UV and heat aren’t on that list in a leading role. They matter for color fade and surface condition, and we’ll get to them. But they don’t cause the structural problems that force re-bases.
The Pre-Wet-Season Inspection Checklist
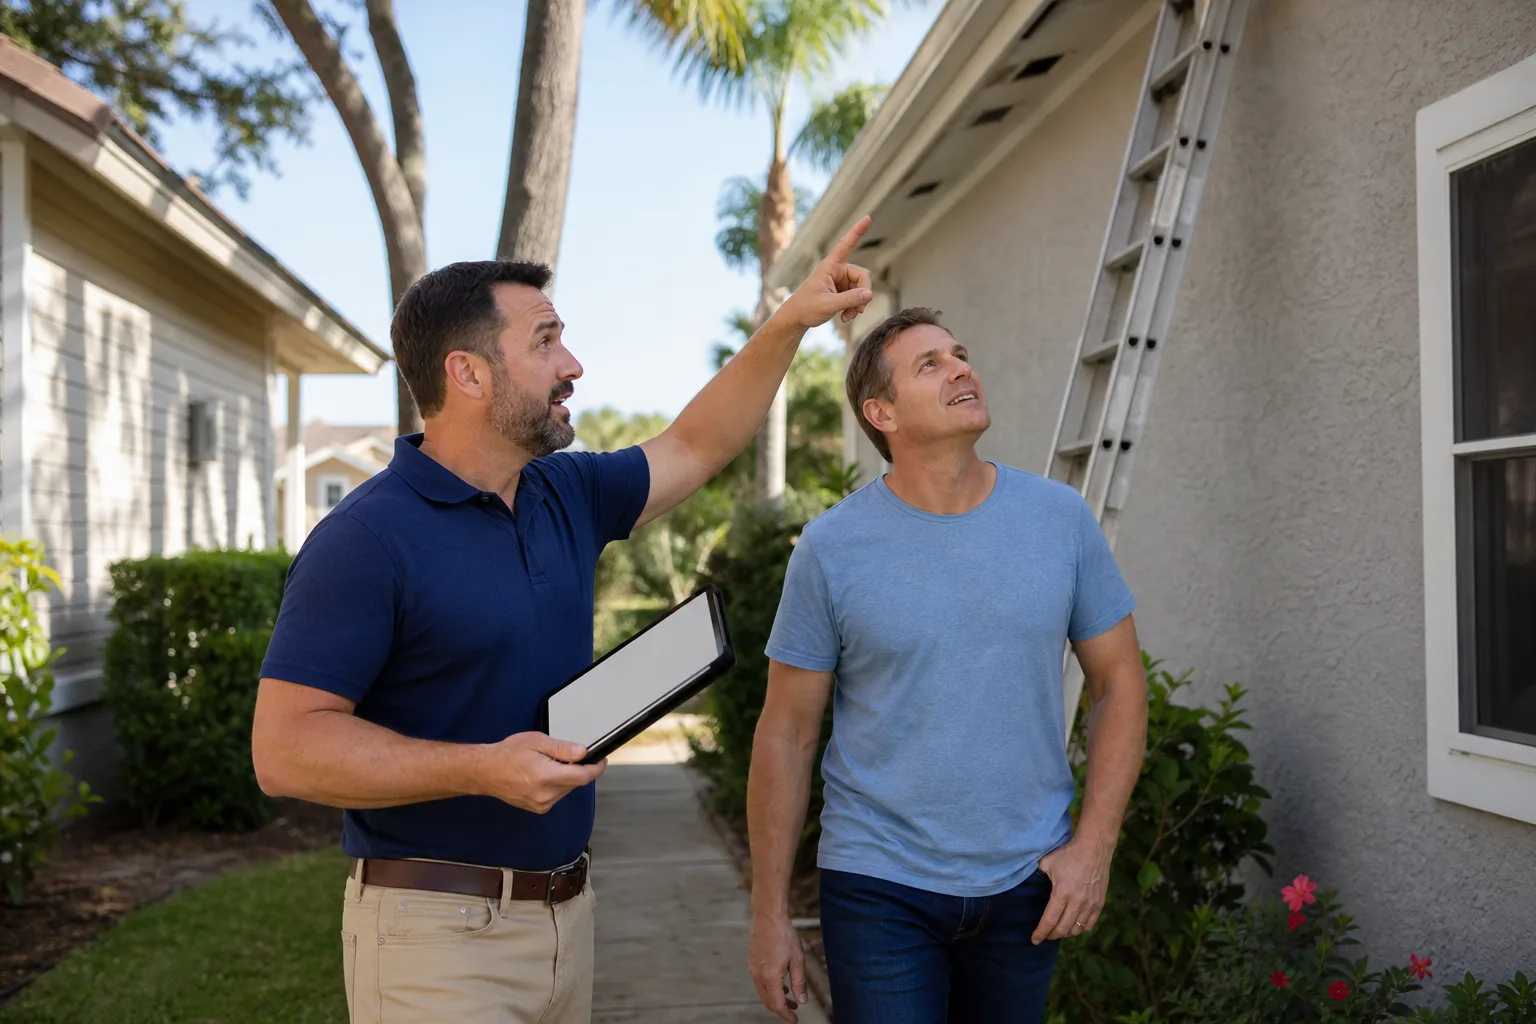
In The Hammocks, the smart move is to walk your driveway with a critical eye before the rainy stretch arrives, not during or after. If you catch a slope problem or a loose edge in the dry weeks, you have time to fix it. If you find it in the middle of a downpour, you’re already cleaning up.
Here’s the walkthrough we recommend. It takes about twenty minutes and doesn’t need tools beyond a level, a garden hose and a notepad.
Your twice-a-year inspection, step by step
- Walk every course of pavers slowly. Look down, not ahead. The point is to feel where the surface stops feeling solid under your foot. A paver that shifts even a fraction is worth marking with a piece of chalk.
- Check the slope with a level. Set a level on the driveway in a few spots to confirm water will travel away from the house and out to the street, not toward the garage door or a wall. A driveway can look flat and still be tilted toward the wrong edge.
- Run a hose test. Spray a section for a couple of minutes and watch where the water goes. Water that gathers in one spot, hugs a foundation corner or pools behind an edge restraint is telling you exactly where the base is already soft.
- Inspect the edge restraint all the way around. The restraint is the border that stops the field of pavers from spreading. If it’s loose, tipped outward or separated from the pavers, the whole field behind it is being held less firmly than it should be.
- Check joint sand depth. Joint sand should sit just below the paver bevel, not below the visible joint. Joints that look like open cracks are collecting water and need topping off before the wet season.
- Look for weed growth and staining. Weeds sprouting out of joints signal sand loss and trapped moisture. Dark or green staining in the joints or low spots suggests water is staying longer than it should.
- Check the transitions. The line where the driveway meets the garage slab, a sidewalk or a fence line is where small movement shows up first. If fence installation is on your list this year, plan the driveway inspection before it, so the two projects don’t fight over the same edge.
- Note and photograph everything. Date the photos. A settlement issue is a trend, and comparing two inspection sets six months apart tells you far more than a single look.
Do this once before the wet season and once as it eases. If the same three pavers rock in both inspections, that’s a base issue, not a one-off.
Base Settlement vs. Joint Sand Displacement: How to Tell Them Apart
Homeowners often lump these two into “the driveway needs sand.” They’re different problems with completely different fixes, and treating one as the other is how a small issue grows into a re-base.
Signs of base-layer settlement
- Pavers that rock or depress underfoot. Your weight makes the paver move and it doesn’t spring back.
- Rippling or a visible dip in a whole area. Settlement rarely hits a single stone; it pulls a cluster down together.
- Joint width changing between courses. Pavers spreading apart or crowding together across an area points to movement underneath.
- Water pooling in the settled spot. A depression holds water, which keeps the base soft, which makes the depression deeper.
- Edge pavers leaning or sliding away from the field. Movement at the perimeter means the restraint has lost its hold.
Signs of ordinary joint sand displacement
- Sand sitting below the joint surface while the pavers stay flat and firm.
- Pavers solid underfoot everywhere. No rocking, no dips, no noise.
- Sand loss concentrated near where wheels turn or water drips off a roof.
- Joints look open but the surface hasn’t moved.
The fix for base settlement is to lift the affected pavers, add and properly compact base material, and re-set and re-bed the pavers and edge restraint. It’s a repair that puts structure back. The fix for joint sand displacement is to refill the joints, correct any drainage that’s causing the loss, and top off again as needed. Trying to fix a settlement issue by sweeping in more sand is like painting a foundation crack: it hides the symptom and the problem keeps working underneath.
Here’s the practical test. If you can stand on a paver and feel or hear it move, that’s settlement territory. If it’s firm and just looking a little lower between stones, start with sand. When the rock is in a heavy traffic lane, along the garage door or where a driveway meets the street apron, we don’t wait to see how it develops.
Which Pavers and Jointing Sands Hold Up in The Hammocks
Material choice won’t rescue a bad base, but the right material gives a well-built base an easier job. Our heat-humidity-rain cycle is forgiving to some paver types and hard on others, and the jointing sand between them matters as much as the pavers themselves.
On the supplier side, we lean on commercial-grade lines because they hold dimensional tolerance and color consistency across the whole field. That matters in a driveway that gets seen from every angle. The brands we work with on hardscape are Belgard, Unilock and Techo-Bloc. Belgard’s catalog covers everything from traditional running-bond pavers to large-format slabs, Unilock’s lines are engineered with tighter control over density and finish, and Techo-Bloc brings the architectural profiles. Choosing among them is a real decision about your home, not a take-it-or-leave-it package. That’s the point of maintaining commercial-grade supplier relationships that most remodelers don’t bother with.
What to weigh when you’re choosing
- Porosity and absorption: a tighter, denser paver tolerates wet-season saturation better. Ask about the absorption specification, not just the look.
- Colorfastness under Florida UV: dark and saturated colors take more heat. Neutral tones weather more gracefully in intense sun.
- Thickness: thicker pavers for driveways give you more structural margin over a shifting base.
- Jointing sand type: look for polymeric or stabilized sand designed for hot, wet climates. These resist washout and stay locked in joints under heavy rain.
- Texture and surface finish: a slightly textured surface grips better when wet and hides tire scuffing.
The jointing sand is where a lot of choices go wrong. A generic sand that holds up in a dry climate can wash out of joints in a couple of heavy South Florida storms. Stabilized polymeric sand is worth the upgrade here for two reasons: it resists washout through the wet season and it blocks weeds. Ask your installer which sand is going in the joints and why before they start.
We regularly pair this kind of material selection with work like a home additions & ADU project, because a bigger footprint changes how water drains across the whole property and the driveway is usually part of that plan. Getting the hardscape and the structure decisions into one conversation saves a lot of rework.
The Post-Hurricane Paver Assessment
After a major storm rolls through The Hammocks, the instinct is to grab a broom and sweep everything back into place. Pause first. What you’re seeing on the surface may be the result of a base failure or a simple case of displaced pavers, and the two need very different responses.
Your post-storm walkthrough
- Wait for standing water to recede. You need to see the actual surface, and evaluating a driveway full of water tells you nothing.
- Walk the perimeter first. Check the edge restraint along the street, the sidewalk and the sides of the driveway. If the restraint has lifted or shifted, the whole field behind it may have room to spread.
- Look for displaced pavers. A paver pushed out of line by water or debris matters less for where it ended up and more for why it gave way. If a single paver popped loose but everything around it is firm, it can be reset.
- Check the joints. Storm water usually strips sand from the joints. Losing sand is expected. Losing pavers means something structural.
- Walk the field for rocking. Any new movement that wasn’t there before the storm is worth investigating.
- Inspect the drainage path. Check that water can still travel away from the house and off the driveway. Storm debris, shifted soil or a blocked swale can shut down drainage and set up the next problem.
Resetting vs. re-basing
Resetting is right when a handful of pavers have moved but the base beneath them is sound and the surrounding field is firm. The fix is to lift them, re-bed and re-set, and restore the joints and edge. It’s a contained repair that solves the problem.
Re-basing is warranted when movement spans a large area, when a whole section has settled or heaved, when the base is visibly saturated and soft after the ground dries, or when the edge restraint failed across a long run. Re-basing means lifting that section, correcting the subgrade and base, recompacting and re-laying. It’s a bigger job, but it prevents calling a contractor back for the same repair twice.
If you’re not sure which category your driveway falls into, this is the stage to get a free estimate before you spend a season patching.
Sealing on a Florida Schedule, Not a National Label
Sealing is important. It’s also the most over-applied step in paver maintenance. The problem is that national label recommendations were written for an average climate that The Hammocks doesn’t have. Florida’s combination of intense UV, high humidity and heavy rain wears a sealer differently than a northern climate does.
UV breaks down the sealer film over time, and our sunlight is strong year-round. High humidity slows the curing and trapping of moisture. Heavy wet-season rain tests the bond and can lift a sealer that wasn’t fully cured when it was applied. In practice, we see sealer performance drop faster here than most homeowners expect.
What a Florida-calibrated sealing schedule looks like
- Seal a clean, dry, well-settled surface. Never seal over a driveway that has settlement issues. Sealant is a topcoat, not a structural fix, and sealing over a soft base traps moisture inside.
- Time the application to the dry window. The sealer needs a stretch of dry weather to cure, and the wet season isn’t the time. Getting the work done in the drier stretch gives the sealer time to set.
- Expect the interval to be shorter than the label. A national label might say every few years. In The Hammocks, plan to re-inspect sooner and reseal when water stops beading off the surface.
- Choose a breathable, UV-resistant sealer. Film-forming sealers that can’t let moisture escape are a poor choice in a high-humidity climate. Ask your installer to recommend a sealer made for hot, wet environments.
- Re-sand the joints before you seal. Sealing open joints just locks in a place for water to sit. Top off the joint sand, let it settle, then seal.
The simplest rule we give homeowners is to judge the sealer by its performance, not its age. If water no longer beads and the surface looks dry and absorbent after cleaning, it’s time. If the surface still sheds water and looks consistent, it can wait.
Edge Restraint and the Details Most Homeowners Skip
The edge restraint is the least visible part of the driveway and the one that most affects whether the field stays tight. Restraint is the border that runs along the driveway’s perimeter and stops the pavers from spreading. When it holds, everything behind it stays locked. When it moves, the whole field loses a bit of grip, and you start seeing widening joints and shifting pavers.
In The Hammocks, edge movement shows up on the street side, along the sidewalk and at the corners where the driveway turns. Check those spots every inspection. A restraint that’s tipped outward, separated from the pavers or sitting below the paver edge is not doing its job. Some restraint systems hold up to our soil and moisture better than a simple spike-down border. That’s one of the details we look at in the initial site assessment, and it’s a reason to choose your installer and materials together rather than in isolation.
The other detail worth a look is how water leaves the property at ground level. A driveway that drains well but sends water into a fence line or a plant bed without a clear path out can cause problems in places you don’t think of as part of the driveway. Ask your installer about the whole drainage path before the project starts. If your boundary needs attention at the same time, our fence installation work can account for the drainage so the two don’t conflict, and if you’re planning to add a structure, a home additions & ADU plan should account for the hardscape drainage too. For context on all seven of the categories The Hammocks Construction works in, the The Hammocks Construction overview is a useful starting point.
Common Mistakes to Avoid
- Sealing over a driveway that rocks. Sealant can’t fix base movement and, on a soft base, it locks in moisture and makes things worse. Check for settlement before any sealing.
- Filling settlement dips with sand. Sweeping sand into a dip hides the symptom for a week and does nothing for the base. If a paver is moving, the base needs attention.
- Using a generic jointing sand in a wet climate. Sand that works fine in a dry region can wash out in a single heavy storm here. Stabilized sand is the safer choice.
- Ignoring slope because the driveway looks flat. Water running toward a foundation or garage door is the most expensive oversight in The Hammocks. Test slope with a level and a hose at least twice a year.
- Letting the edge restraint spread. A loose border along the street or sidewalk lets the whole field drift. Check it on every inspection.
- Re-sealing on the schedule printed by the manufacturer instead of your climate. Florida UV and rain wear sealer on a different clock than the label says. Judge by the surface, not the calendar.
- Skipping the post-storm walk. A displaced paver after a storm tells you the system lost a piece. Reset a single problem paver now rather than letting the movement spread over a season.
See the difference
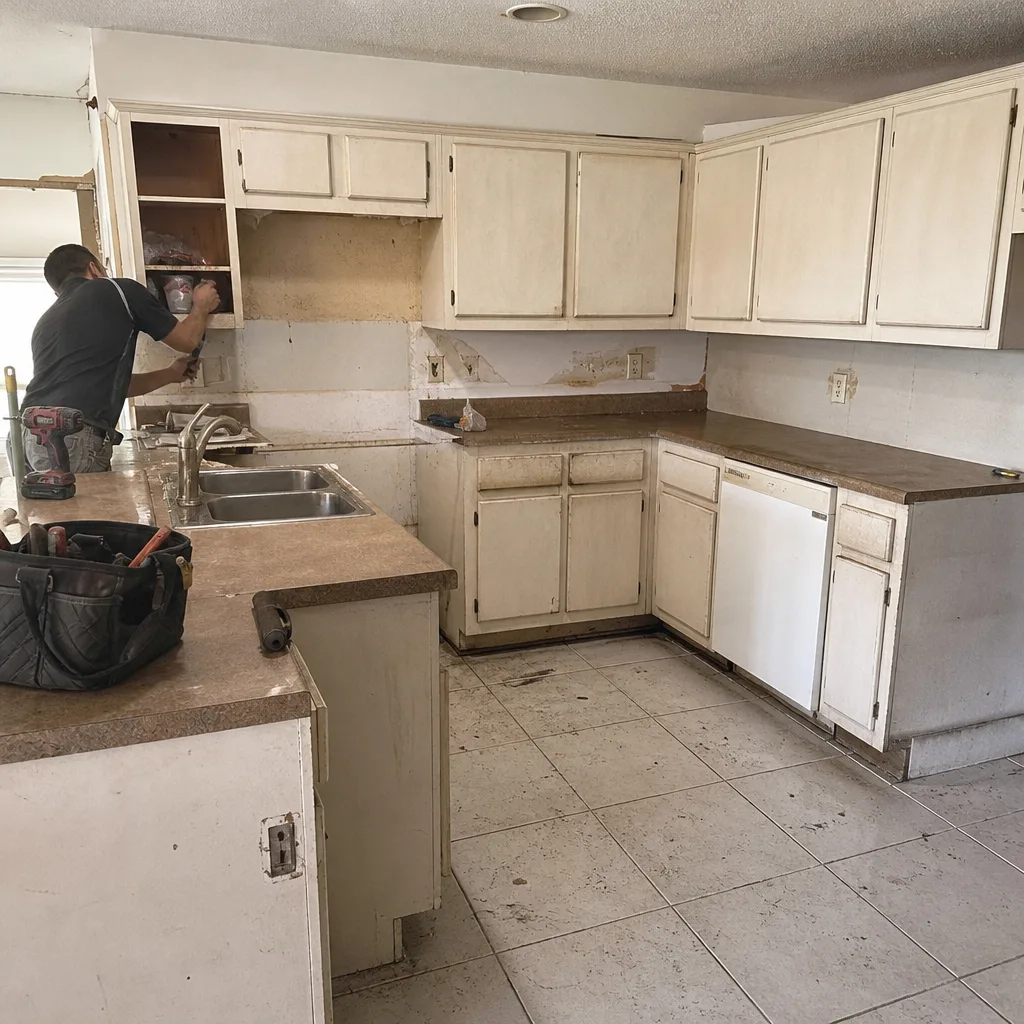 Before
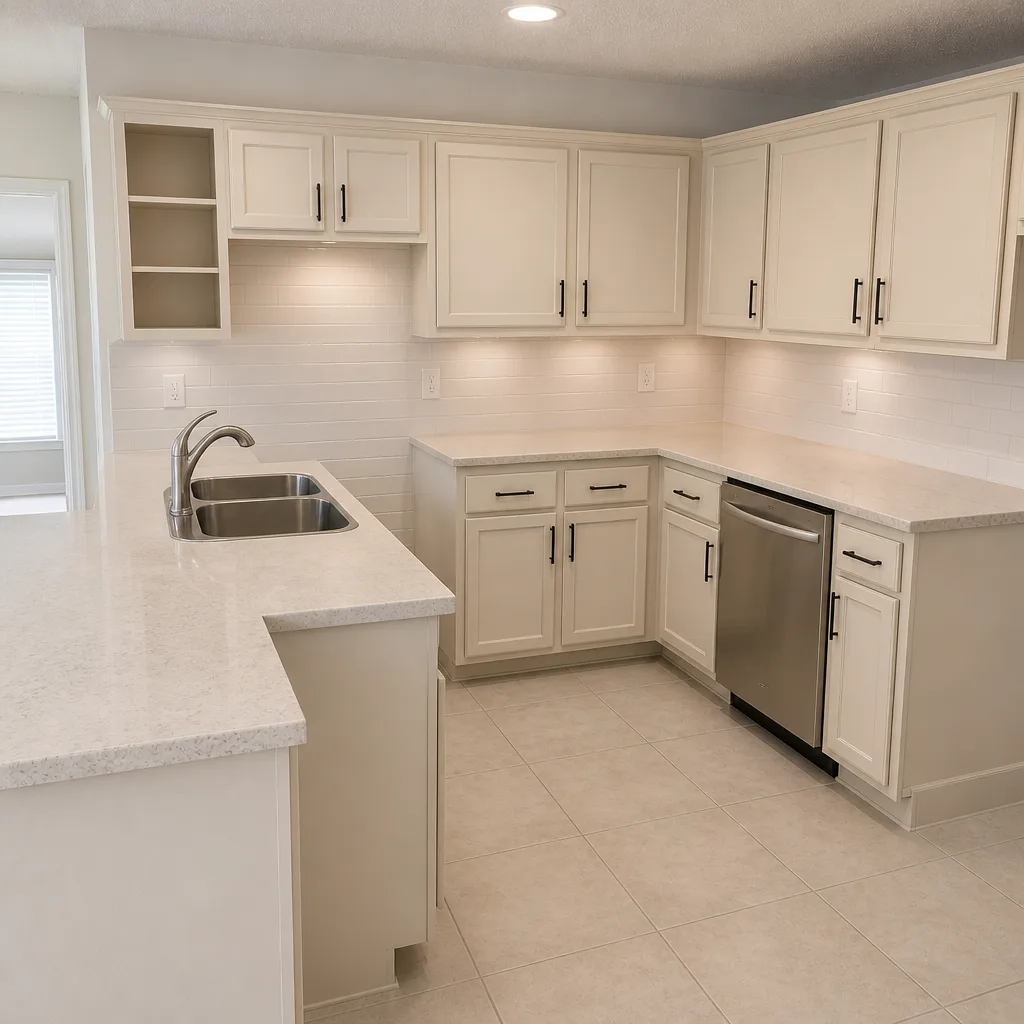 After
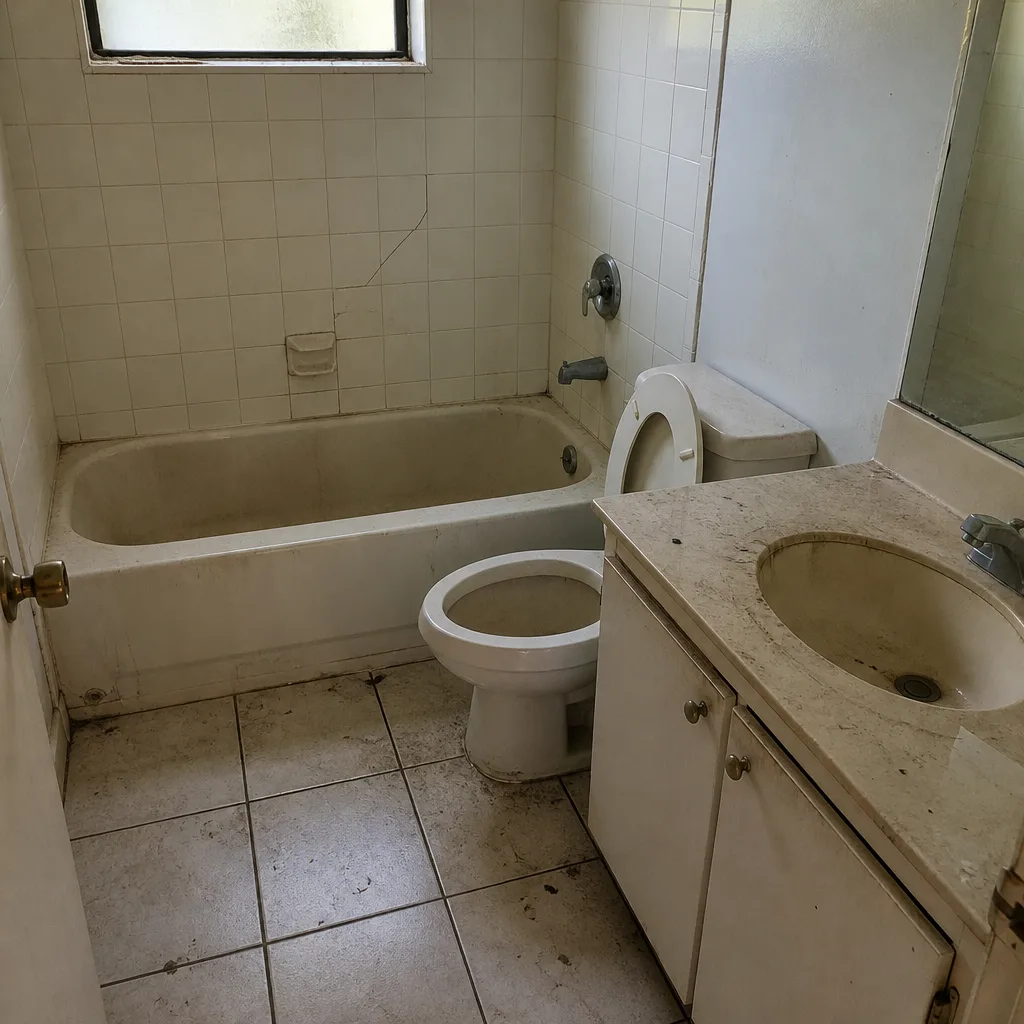 Before
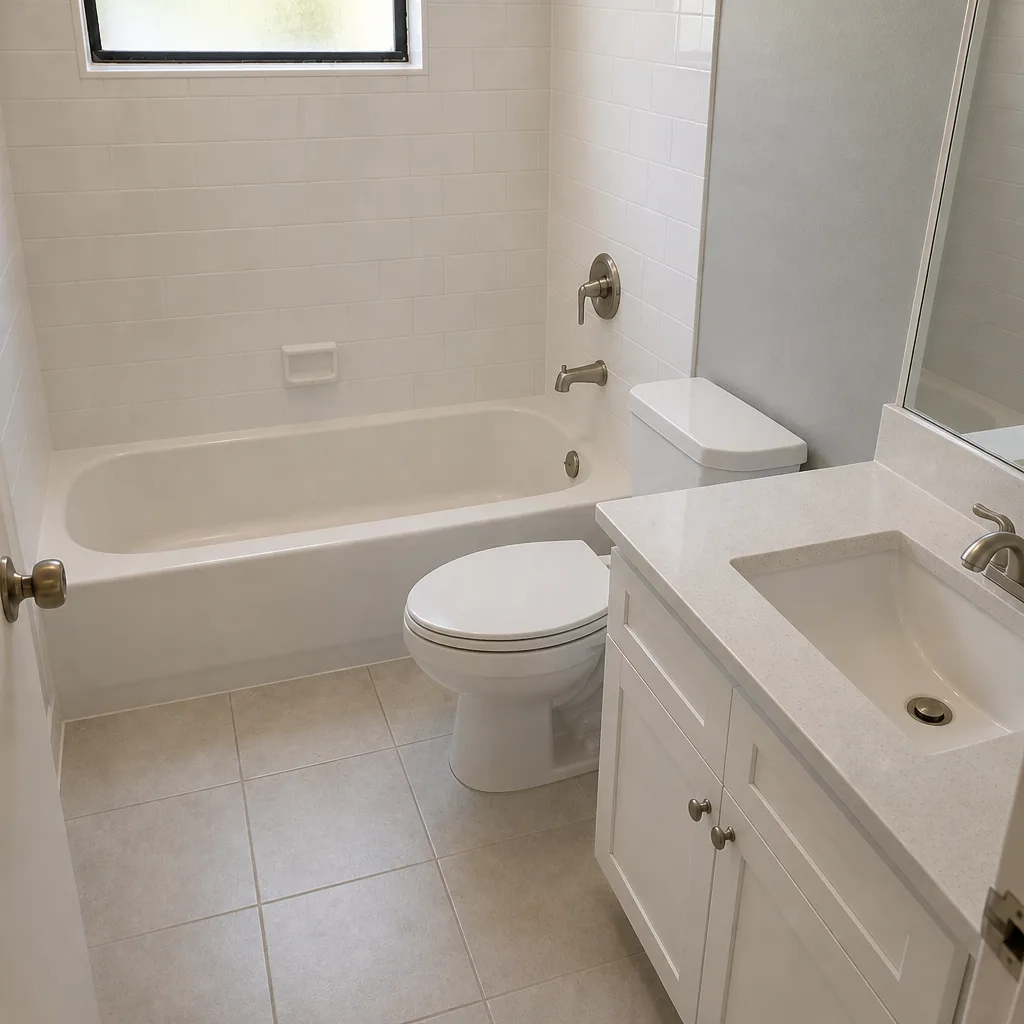 After
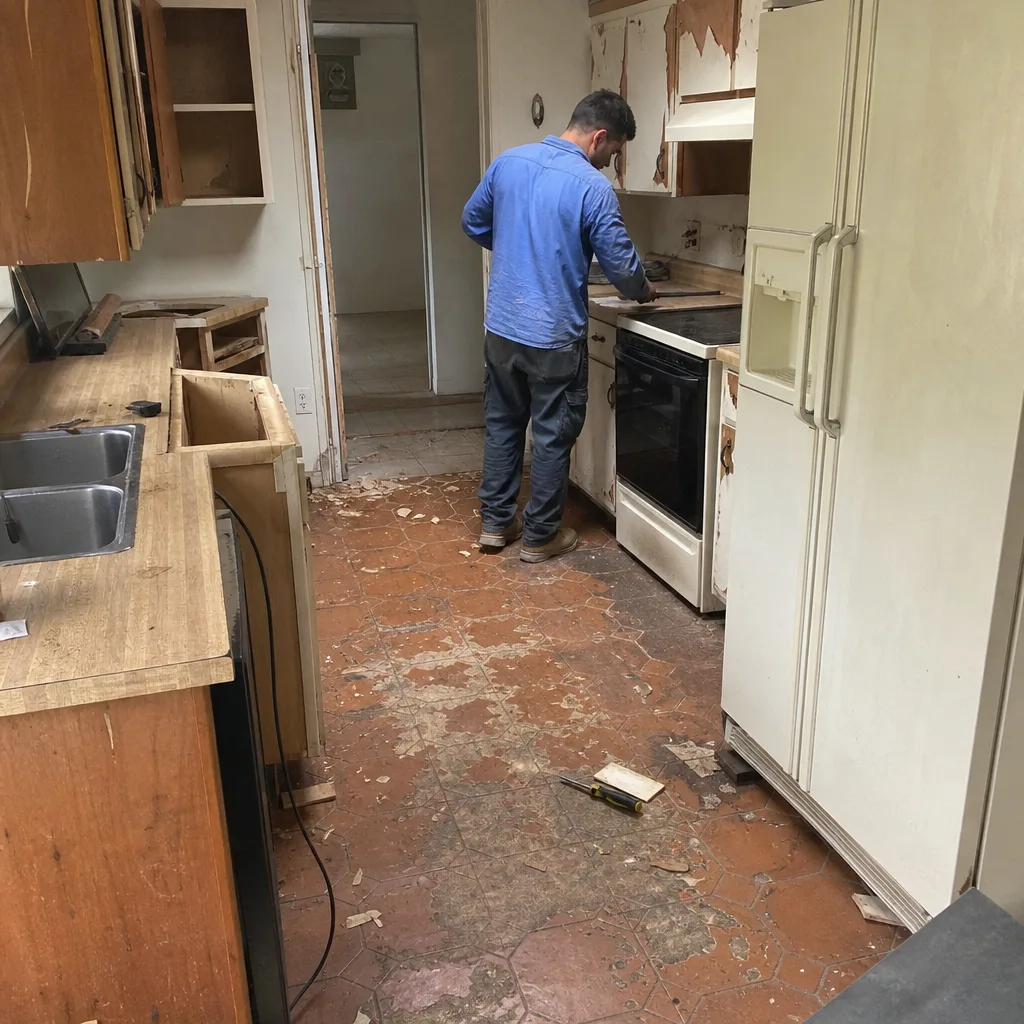 Before
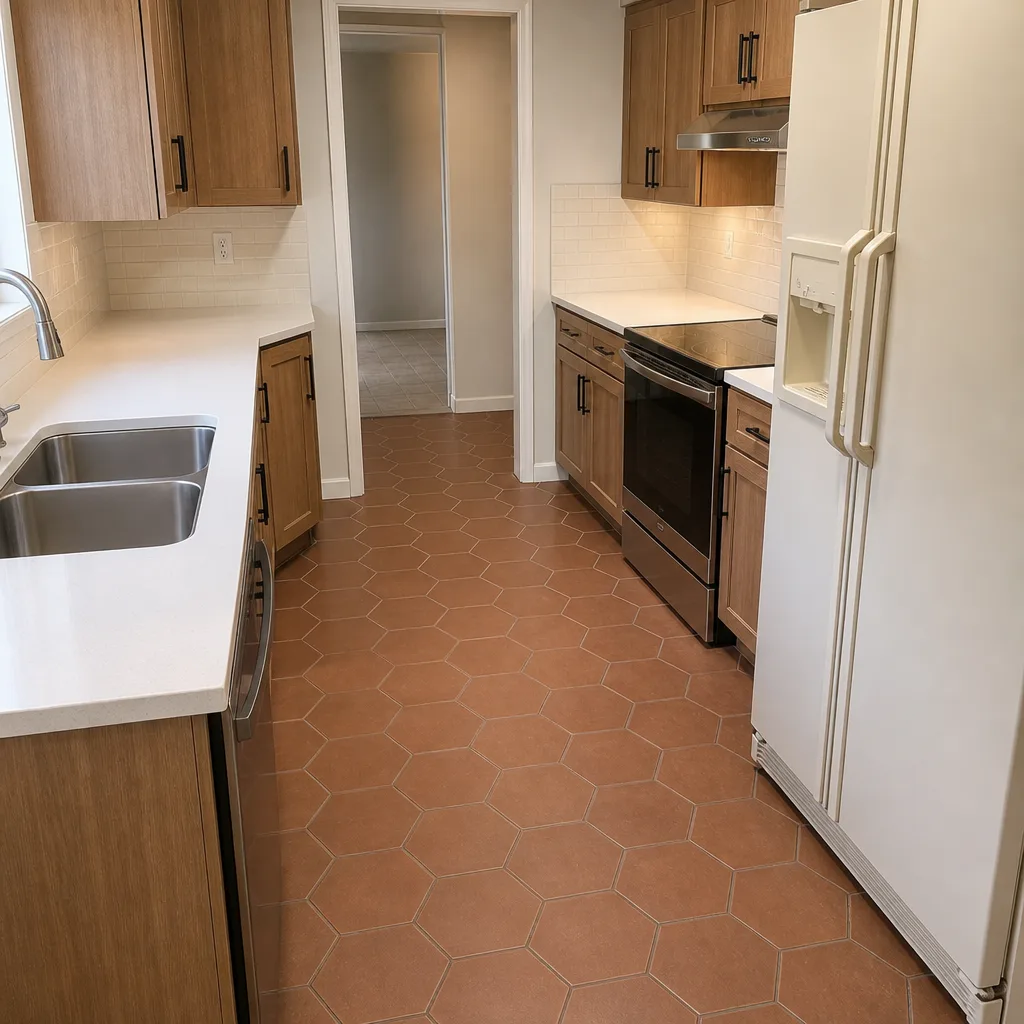 After
When to Call a Professional
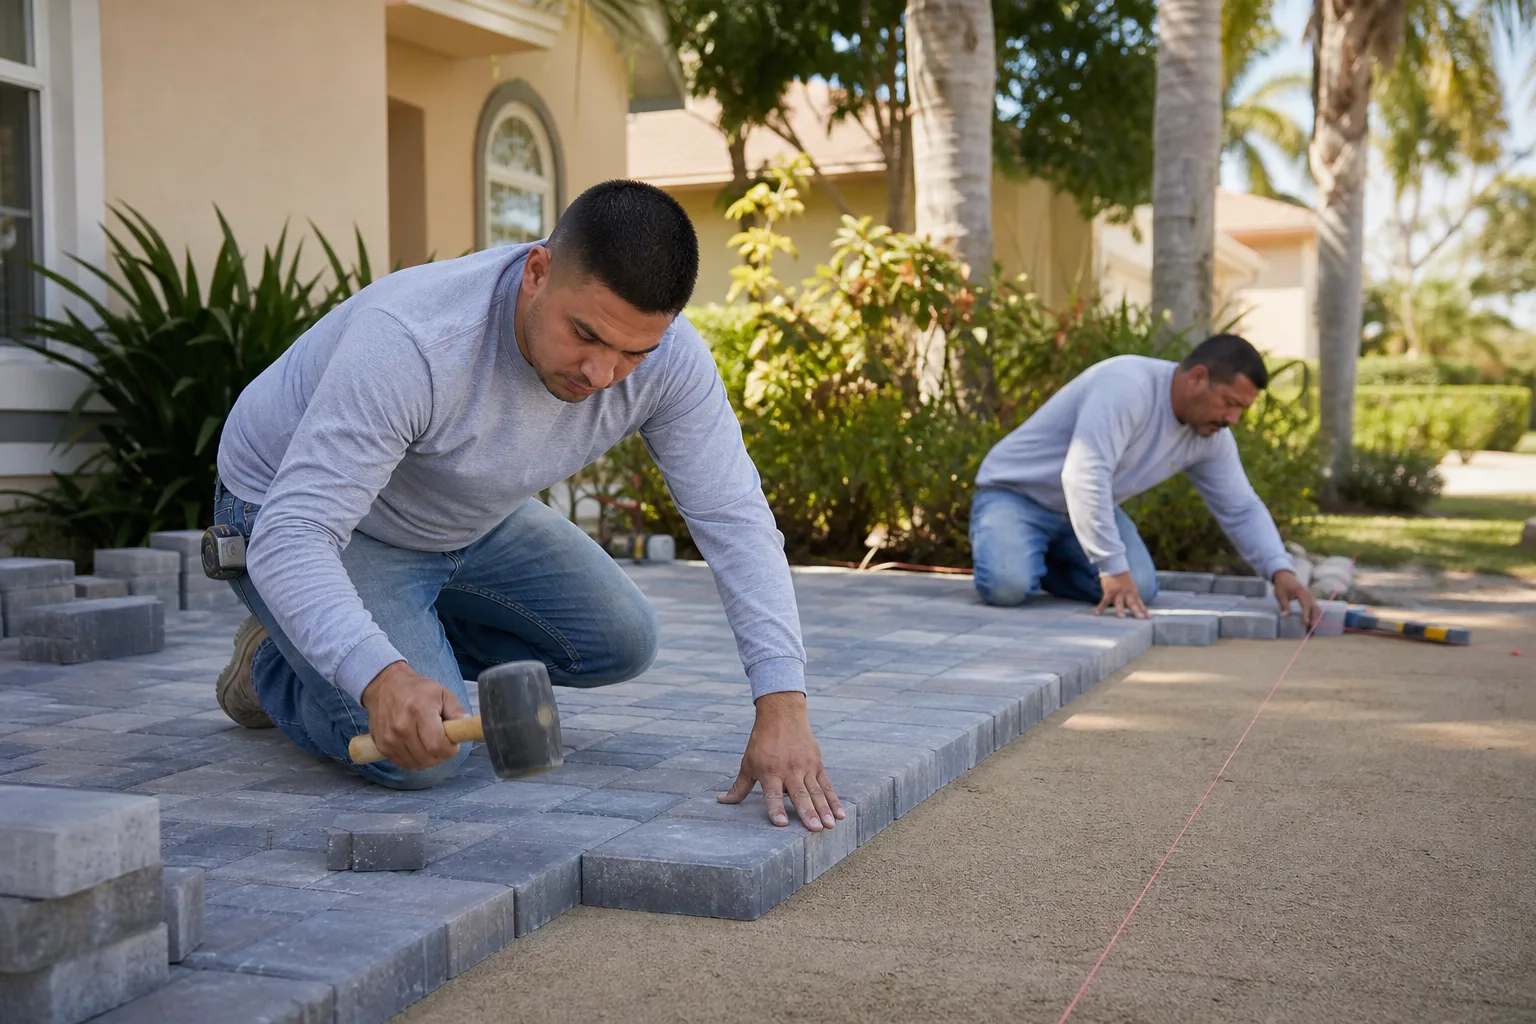
The maintenance checklist covers a lot of ground, but there are moments when a homeowner should stop inspecting and call in a trained installer. If a paver rocks underfoot and doesn’t spring back, if water pools against the house or a garage door, if the edge restraint has separated from the field or if a post-storm inspection shows a large area has moved, that’s base-level work. These jobs involve lifting pavers, checking subgrade and base compaction, and rebuilding the edges. Resetting a small displaced paver is often a quick repair. Re-basing a section is a job for someone who knows how to compact a base properly.
Our technicians have up to 13 years of experience with paver systems in this climate. The Hammocks Construction offers free estimates in The Hammocks. Call (844) 797-9354. We answer 24/7. Fast dispatch from 7am to 7pm, Sunday through Friday. We’ll walk the driveway with you, tell you whether it needs resetting or re-basing, and give you a written line-item estimate so you know what you’re paying for before work starts.
Frequently Asked Questions
Inspect at least twice a year: once before the wet season and once as it eases. If your property has a known drainage problem or a section that has already moved once, check it every few months. Walking the driveway for rocking pavers and testing the slope with a level takes about twenty minutes. Call (844) 797-9354 if your inspection turns up movement for a free estimate on the repair.
Pavers that rock underfoot, dip in a cluster, or shift at the edges point to a base problem. Pavers that stay firm and just look a little low between the joints need sand. Stand on the suspect paver; if it moves, that’s settlement. If it’s firm, start with joint sand. Call (844) 797-9354 and we’ll assess the driveway and tell you which repair it needs. Estimates are free.
Seal during the dry stretch, not the wet season. The sealer needs a run of dry weather to cure, and the wet season can lift a sealer that hasn’t fully set. Judge the sealer by performance rather than a fixed schedule: reseal when water stops beading and the surface looks dry and absorbent. Call (844) 797-9354 to schedule an assessment and get a written estimate.
Look for stabilized or polymeric joint sand formulated for hot, wet climates. Generic sand can wash out in a single heavy storm. Stabilized sand resists washout and slows weed growth at the same time. Ask your installer which product is going in the joints and why before work begins. Call (844) 797-9354 for a free estimate on getting the joints corrected and re-sanded.
No. Sealing sits on the surface; it can’t fix a base that has opened up underneath. Sealing over a moving driveway can make things worse by trapping moisture. Fix the base settlement first, then seal. Call (844) 797-9354 for a free estimate and we’ll tell you whether the driveway needs a base repair before it’s ready to seal.
If a small number of pavers have moved but the surrounding field is firm, a reset is the right repair: lift them, re-bed and re-set. Re-basing is for large areas of movement or when the base has clearly saturated and softened. Call (844) 797-9354 for a free estimate and we’ll tell you which repair your driveway actually needs.
The Bottom Line

Paver driveways in The Hammocks fail from the ground up, not the surface down. That means the priority isn’t the sealant you reapply, it’s the drainage slope, the edge restraint and the base compaction you check twice a year. Keep the joints full with a stabilized sand built for this climate, inspect the slope before the wet season, and after a storm decide whether you’re looking at a reset or a re-base before you sweep anything back. Get those right and surface maintenance gets easy. Get them wrong and the prettiest driveway on the block will still start moving. The Hammocks Construction installs and repairs paver driveways across The Hammocks, works with commercial-grade supplier lines and gives you a written line-item estimate before any work starts. Call (844) 797-9354 for a free estimate. We answer 24/7. Fast dispatch from 7am to 7pm, Sunday through Friday.
Written by the team at The Hammocks Construction.