Last updated November 17, 2026




Free written scope consultation - allowances, timeline, and change-order rules on paper before a single trade is scheduled
Driveway & Pavers Troubleshooting in The Hammocks: Common Problems and How to Fix Them
Most paver repair work fails for one reason: the surface gets fixed and the cause never does. A crew lifts the sunken patio, re-levels the sand, taps the stones back into place, and everyone shakes hands. Then the next rainy season arrives in The Hammocks and the same stones drop again, a little deeper than before. In our experience, nine out of ten driveway and paver problems here trace back to three root causes – sub-base saturation, root intrusion, and movement under the slab that nobody probed for. This guide shows you how to diagnose which one you’re looking at before you spend a dollar on the fix.
Quick Answer
Quick Answer: If your driveway pavers are sinking or shifting in The Hammocks, the cause is almost always in the layer beneath the pavers, not the pavers themselves. Joint sand erosion is cosmetic and can often be refilled; a base that has lost its compaction after repeated saturation, a root pushing up from below, or a leak washing out the sub-base is structural and needs to be dug out and rebuilt. Diagnosing with a visual check and a tap test before anyone quotes a repair tells you which one you’re dealing with.
Styles & brands we work with
- Kitchen remodeling
- Bathroom remodeling
- Home additions & ADU
- Roofing
- Windows & doors
- Driveway & pavers
- Fence
Table of Contents
- The Three Root Causes Behind Almost Every Paver Problem in The Hammocks
- How to Tell Cosmetic Joint Erosion from Structural Sub-Base Failure
- Why White Staining Shows Up So Often on The Hammocks Pavers
- Weed and Root Intrusion Patterns You’ll See on a The Hammocks Driveway
- How to Identify What’s Causing a Sunken Section: Soil, Roots, or a Leak
- When a Repair Is Legitimate and When It’s an Upsell
- Drainage and Grading Around The Hammocks Homes
- What Prevents the Repair from Repeating Every 18 Months
The Three Root Causes Behind Almost Every Paver Problem in The Hammocks
If your pavers are sinking near the garage apron every rainy season, re-leveling them without addressing sub-base saturation is the most expensive short-term fix you can make. We’ve seen it more times than we can count: a homeowner pays to have a section lifted and reset, and the same section fails again because the water table of that particular yard is going to do what it’s always done.
Nearly every paver failure in The Hammocks comes down to one of three things:
- Sub-base saturation. Pavers sit on a compacted aggregate base, which sits on the native soil. When the base layer takes on water faster than it drains, the compaction loosens, the base shifts, and the pavers above it follow. In The Hammocks, where heavy summer rain is the rule, the difference between a base that survives ten years and one that fails in three is often how the base was built and how the water gets out.
- Root intrusion. South Florida vegetation grows fast and roots travel wide. Ficus, palms, and even the ornamental shrubs many homeowners plant right at the driveway edge will send roots under a paver bed, lifting the stones one by one. This is a different problem from settlement and it can’t be resolved by re-leveling.
- Movement underneath from a leak. An irrigation line, a hose bib run, or a leaking line beneath the driveway can slowly wash out the base. If the paver section is settling in a linear pattern or the soil under it is soggy long after rain, a leak is the first thing to rule out.
If you can name which of these three you’re dealing with, a repair quote suddenly makes sense. If a contractor diagnoses the problem without testing for any of them, ask what they’re basing the assumption on. The honest answer to the question of why so much paver work in The Hammocks comes back within two years is that the second crew fixed the surface without ever getting to the root.
How to Tell Cosmetic Joint Erosion from Structural Sub-Base Failure
You can run this test yourself before calling anyone. It takes ten minutes and gives you a clear yes or no on whether you’re looking at a surface issue or something structural.
Step 1: Walk the whole surface
Walk the full area slowly and look for the pattern of the problem, not just the worst spot. A handful of loose pavers near the street or the garage apron is often just surface wear. A whole section that has dropped in a line, or a swell that follows one direction, points at a base or root issue.
Step 2: Do the tap test
Use the handle of a screwdriver or a small hammer and tap each suspicious paver. A solid, tight thud means the paver is still fully bedded on its base. A hollow or rattling sound means the paver has lifted off its bedding layer – usually a sign that the sand under it has washed away or the base has settled beneath.
Step 3: Check the joints
Look at the sand between the pavers. If it’s washing out and the pavers are otherwise tight and level, that’s joint erosion and it’s the more benign category. If the sand is gone and the pavers are also moving underfoot, you’re into structural territory.
Step 4: Look for pooled water after rain
After the next heavy rain in The Hammocks, watch where water pools on the driveway and where it flows off. Water that stands on the surface for hours tells you the grading is off, which in turn pushes water into the joints and the base below.
Cosmetic joint erosion can be fixed by cleaning the joints and refilling with the correct joint sand. Structural failure – the hollow-sounding pavers, the settled section, the standing water – needs a real repair: lifting pavers, rebuilding the base to the correct depth and compaction, re-grading, and resetting.
Why White Staining Shows Up So Often on The Hammocks Pavers
That chalky white haze on your pavers is called efflorescence, and it’s more common in The Hammocks than most homeowners realize. It’s a natural result of salts in the concrete or mortar migrating to the surface with water and crystallizing as the water evaporates. In a climate where pavers get soaked and then dry quickly in the sun, the cycle repeats constantly.
What makes it worse: the instinct to blast it off with a pressure washer and a harsh acid. Pressure washing forces more water into the pavers, which brings more salt to the surface. Acid washes can etch the surface and leave a dull finish. Both treatments tend to make the problem come back faster.
What actually helps:
- Give it time. Many fresh white blooms fade on their own after a few weeks of normal weather.
- Dry-brush first. A stiff-bristle brush removes the surface bloom without driving water into the paver.
- Use a manufacturer-approved efflorescence cleaner. These are formulated to dissolve the salts without etching the paver face.
- Find the source of the water. If the same wall or section blooms over and over, the pavers are getting wet from somewhere they shouldn’t – a downspout, an irrigation head, or a grading problem.
Persistent efflorescence on one section of a The Hammocks driveway is worth investigating as a symptom, not just a cosmetic nuisance. In our experience, a paver bed that keeps producing white bloom is one where something beneath the surface stays wet.
Weed and Root Intrusion Patterns You’ll See on a The Hammocks Driveway
Plants in The Hammocks grow year-round. That’s a nice quality in a hedge and a frustrating one at the edge of a driveway. The roots you need to worry about aren’t the dandelion-type weeds poking through joints – those are unsightly but easy to manage. The real damage comes from woody roots under the paver bed.
Three patterns show up repeatedly on The Hammocks driveways:
Ficus and hedging along the property line
Ficus is a popular privacy hedge here and its root system spreads aggressively under adjacent hardscape. A paver border that meets a ficus hedge is where you’ll usually first see lifting – one or two pavers sitting slightly proud of their neighbors, then a widening ripple as the roots push further.
Palm frond roots and palm triples
Palms push surface roots widely. A palm planted within a few feet of the driveway will often send roots under the sand bed, causing localized lifting that looks like a “bump” in the middle of the driveway.
Ornamental shrubs at the driveway edge
Shrubs planted too close to the edge of the pavers will send fine roots into the joints and bed over time. These tend to cause edge settling and joint erosion rather than dramatic lifting, but they’re a steady source of nuisance weeds.
Controlling root intrusion requires more than spraying weed killer. The fix usually involves lifting the affected pavers, cutting and removing the offending roots back to the source (or removing the shrub), rebuilding the base in that spot, and reinstalling a root barrier along the paver edge where a hedge runs alongside. The barrier is what stops the same problem from returning in the same place.
How to Identify What’s Causing a Sunken Section: Soil, Roots, or a Leak
A sunken section of pavers looks the same no matter which of the three causes is behind it. Distinguishing between them is where a real diagnosis pays off. Here’s a simple decision process:
- Is the sinking localized to one identifiable point, or spread across a section? A cone-shaped depression under one paver usually points to soil settlement or a leak at that specific spot. A whole section that has dropped in a straight line points to base failure or a leak running under the entire section.
- Is there a tree, palm, or large shrub within 10 feet? If yes, root intrusion is a real candidate and the fix needs to address the source of the roots, not just the pavers.
- Is the soil under the paver wet when everything else is dry? Lift one paver and look at the bedding sand and the base beneath it. If it’s damp days after the last rain, you may have a leaking irrigation line or plumbing run beneath the slab.
- Is there a plumbing or irrigation line running under that section? Many The Hammocks properties have irrigation running to beds and trees; if the sunken section sits on top of the line’s path, that’s a strong signal.
- Has the sinking progressed visibly over weeks? Rapid progression usually means water is actively moving soil (a leak). Slow, seasonal progression usually means base compaction is breaking down under rain cycles.
If you can’t tell definitively, a professional inspection will. A good technician will lift pavers, check the base depth, test for moisture, and can trace a leak before quoting a repair. That diagnosis should always precede a repair quote – and if you’re quoted a fix without anyone looking under a paver, you know what you’re getting.
When a Repair Is Legitimate and When It’s an Upsell
This is the part where homeowners spend money they didn’t need to. The truth is that a genuine repair is often the right answer, but there’s a fuzzy line where “repair” turns into a patch job on a base that should have been rebuilt.
Signs a repair is genuinely appropriate:
- The problem is confined to a small, clearly defined area (a corner, an edge, a run of a few pavers).
- The rest of the surface is level, tight, and drains correctly.
- The cause is identifiable (root intrusion, a localized leak, a failed drain) and the repair addresses it.
- The contractor explains what’s under the pavers and why the base there failed.
Signs you’re being up-sold a patch on a failing base:
- The repair quote is for “re-sanding and re-leveling” without lifting the pavers or checking the base.
- Multiple different sections have failed in the last couple of years and the quote to repair them again is small but has been sold three times.
- Nobody has mentioned the words “base,” “compaction,” “drainage,” or “grading” in the diagnosis.
- The quote is suspiciously cheap for a full rebuild, which usually means the base work is being cut.
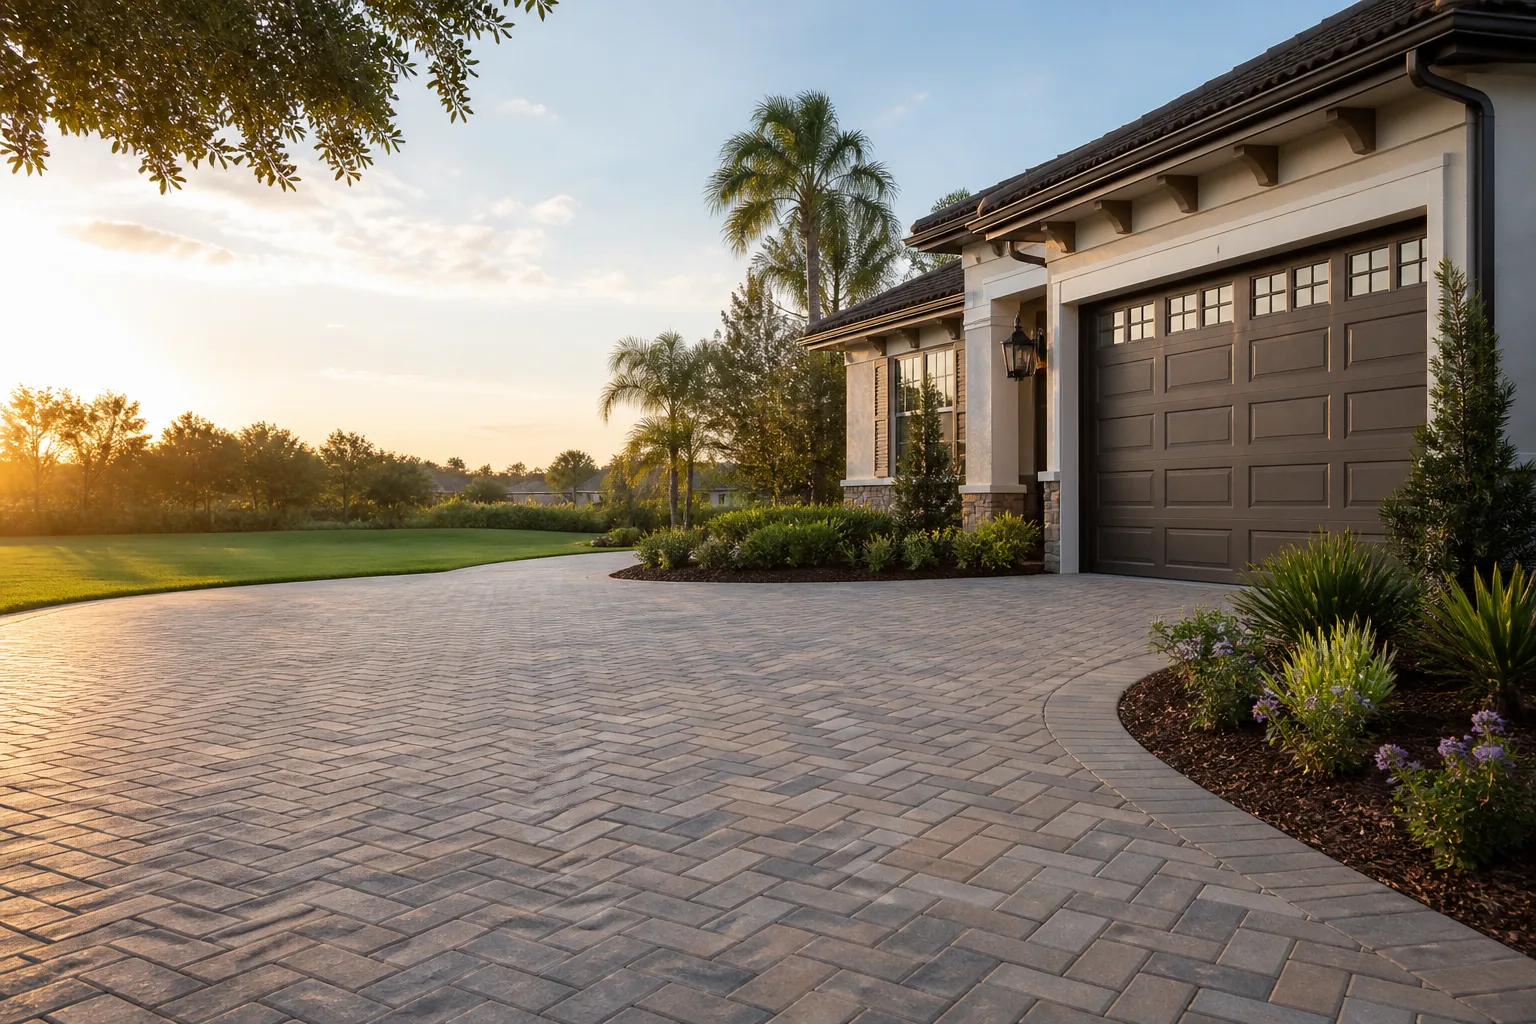
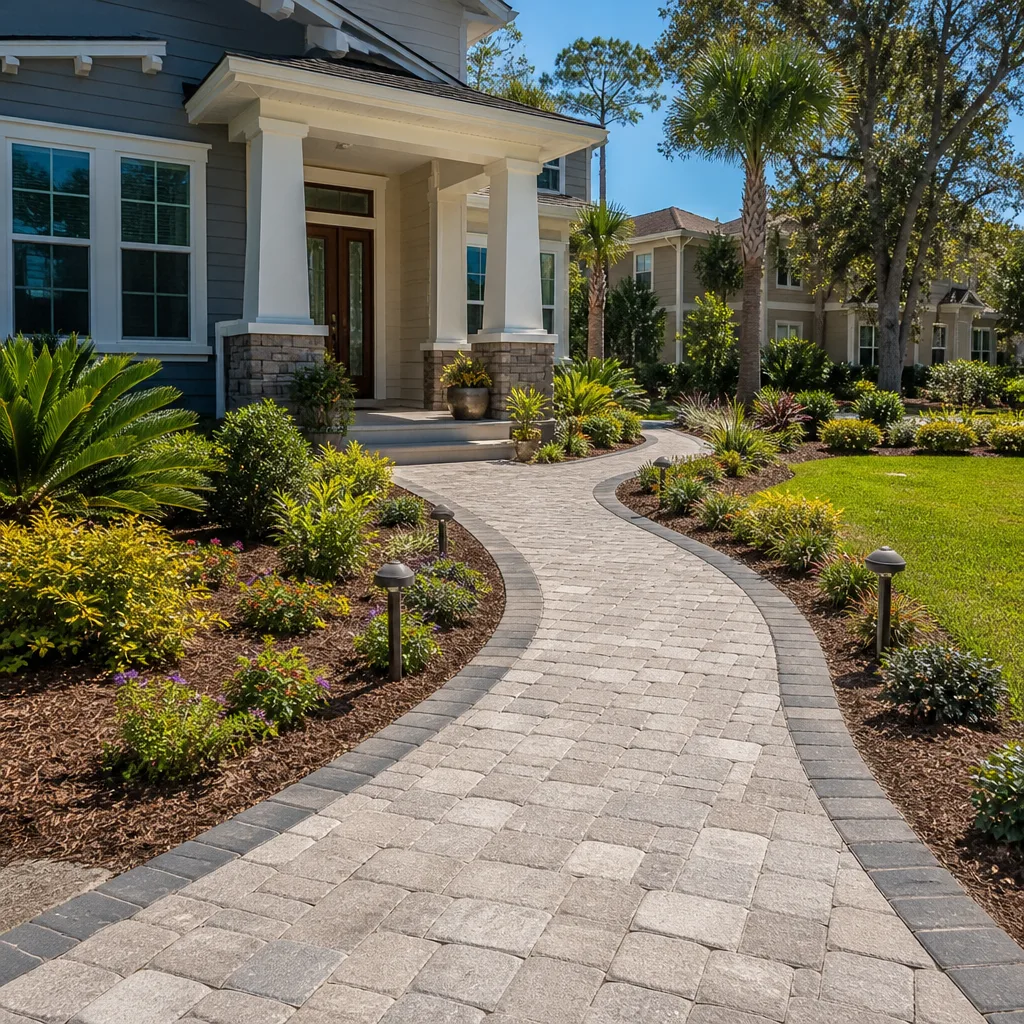
If the base has failed structurally across more than a small section, the honest answer is often a partial rebuild of the affected area or, when the whole driveway is compromised, a replacement. That’s a bigger conversation than a repair, but it’s the one that gets you a driveway that survives another rainy season. If you’re considering replacement, you can review driveway & pavers options to see what the range of paver materials actually looks like, and what a proper base build involves.
Drainage and Grading Around The Hammocks Homes
Most paver problems in The Hammocks start with water, and most drainage problems start at the moment of installation. The base needs slope, the paver surface needs slope, and the water needs a place to go that isn’t the base material under your pavers. If any of those three is missing, the driveway is going to fail no matter how well the pavers themselves were laid.
What a well-draining installation includes:
- Compacted aggregate base with proper depth for the paver type and expected loads.
- Positive slope away from the house and garage.
- Controlled discharge at the driveway edge – either sheet flow to a landscaped area or a channel drain at the base of a slope.
- Grading that doesn’t rely on a downspout dumping water onto the driveway.
Downspouts are the most overlooked contributor. If your gutters discharge at the edge of the driveway, the water runs onto the pavers, into the joints, and down into the base. Redirecting that discharge to a landscaped area or a dry well often solves a paver problem that no amount of re-sanding ever will.
Getting the drainage right also matters for the fence line, since a driveway that pools water will push moisture against any fence installation at its edge. Solving drainage once means both hardscape and fence last longer. A property-wide approach to exterior work is something we think about from the start; it’s also part of why we handle the full exterior scope under one contractor.
What Prevents the Repair from Repeating Every 18 Months
The single biggest factor in whether a paver repair lasts is whether the base was rebuilt correctly. Re-leveling the pavers over a compromised base fixes the appearance for a season or two. Rebuilding the base to the correct depth, compacting it, restoring the drainage slope, and re-sanding with the right joint sand fixes the problem behind the appearance.
What that looks like in a proper repair:
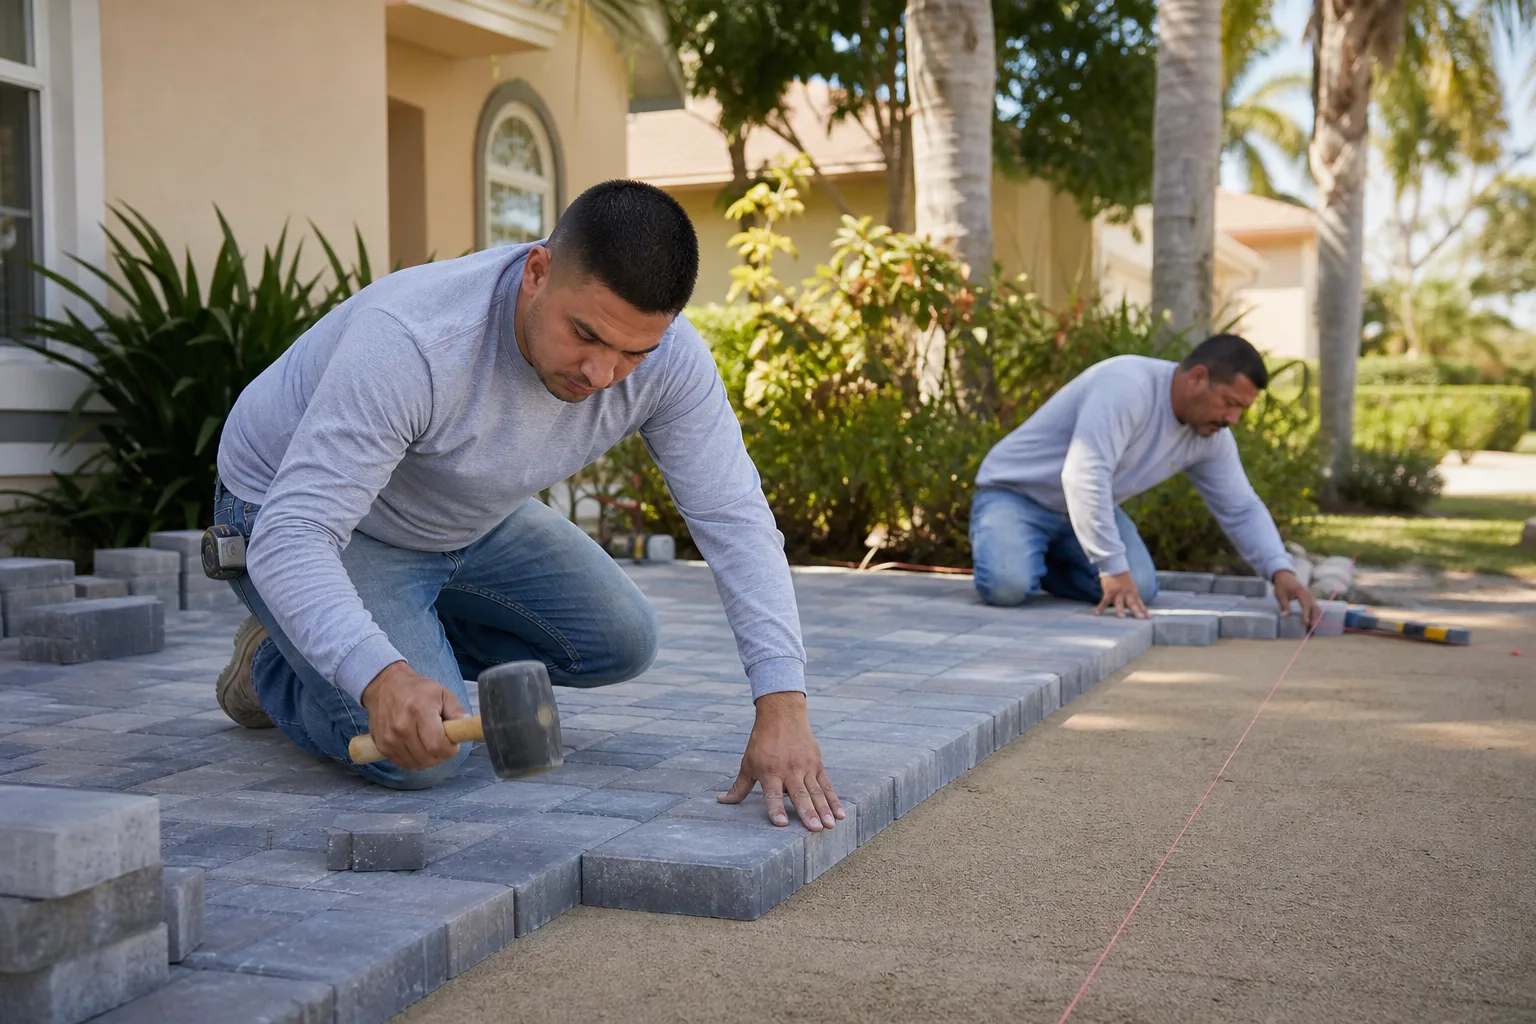
- Mark and remove the affected pavers, keeping them for reuse if they’re in good shape.
- Remove the bedding sand and any loose or contaminated base material.
- Inspect for the cause – roots, a leak, or failed compaction – and resolve it.
- Replace the base in compacted lifts to the correct depth. This is measured; not eyeballed.
- Re-establish the slope away from the house and to the drainage discharge point.
- Reset the pavers with the correct joint sand and compact the finished surface.
After the repair, two routine habits go a long way: refill the joints yearly with the correct sand (not play sand), and check the downspouts and irrigation lines for leaks that would push water under the driveway again. If paver work is part of a bigger exterior plan, coordinating it alongside other work avoids the scenario where one trade undoes another. Our home additions & ADU projects are sequenced with site work and grading for exactly this reason – drainage gets resolved before it becomes somebody else’s problem.
If your paver project is going to be paired with new doors or windows along the same exterior, brands like CGI and ES Windows are part of the options we work with, and installation is done to each manufacturer’s spec. Same principle applies to pavers: the material is chosen for what your home needs, not for what a single supplier happens to carry.
Common Mistakes to Avoid
- Pressure washing to “fix” efflorescence. It drives more water into the pavers and brings more salt to the surface. Dry brush and a manufacturer-approved cleaner first.
- Re-leveling over a failed base. If the base is compromised by water or roots, the repair is cosmetic and will fail again. This is the mistake we see most in The Hammocks.
- Playing whack-a-mole with weeds. Spot weed killer on the joints doesn’t stop the roots traveling under the bed. Root barriers at the paver edge are what actually work.
- Using play sand in the joints. It washes out quickly and doesn’t lock in. Use the joint sand the paver manufacturer specifies.
- Ignoring downspout discharge. A downspout dumping onto the driveway edge is a slow, steady source of base failure that no repair corrects until it’s redirected.
- Hiring on the lowest repair quote. Compare what’s actually included. If a quote is for “re-sanding” and the base isn’t being touched, it may not solve the problem.
- Not diagnosing a leak before rebuilding. If the base is wet when the weather is dry, a leak is a strong candidate and needs to be repaired before the base is rebuilt.
See the difference
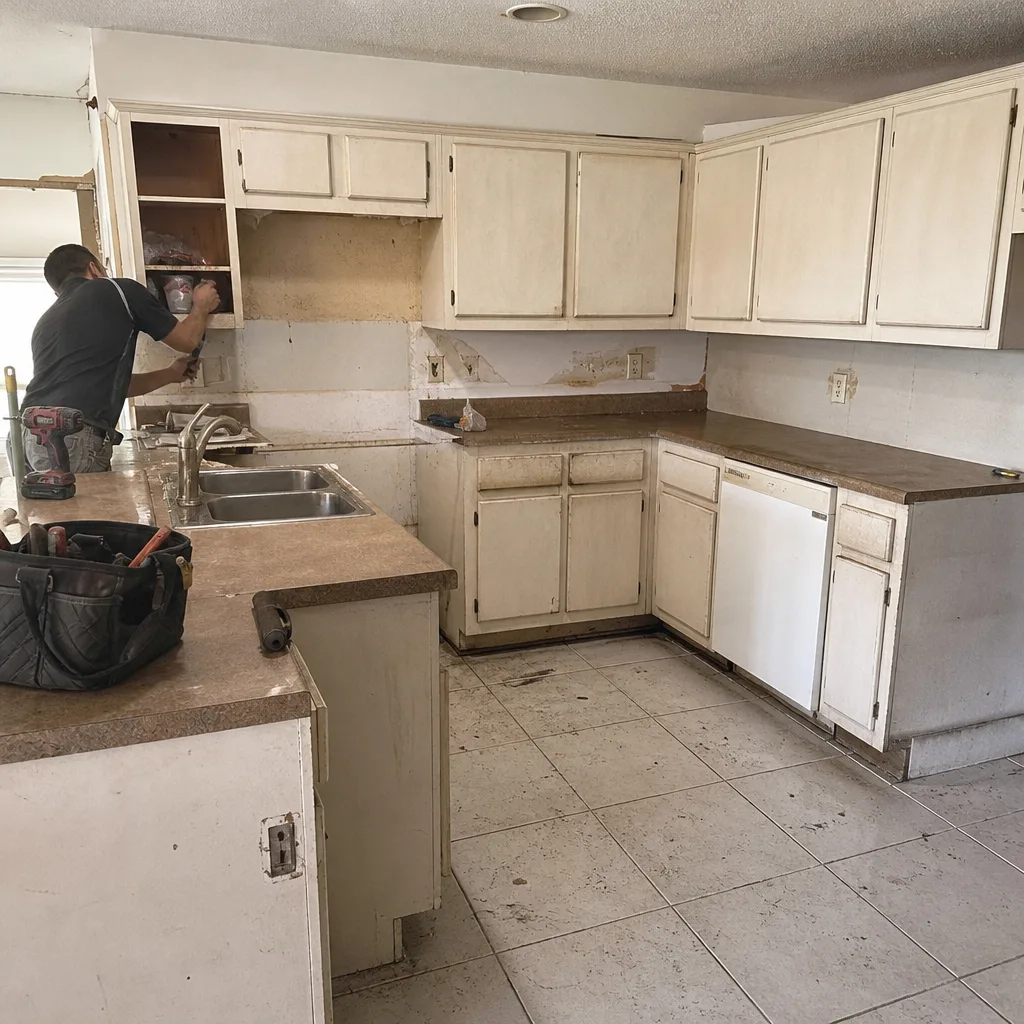 Before
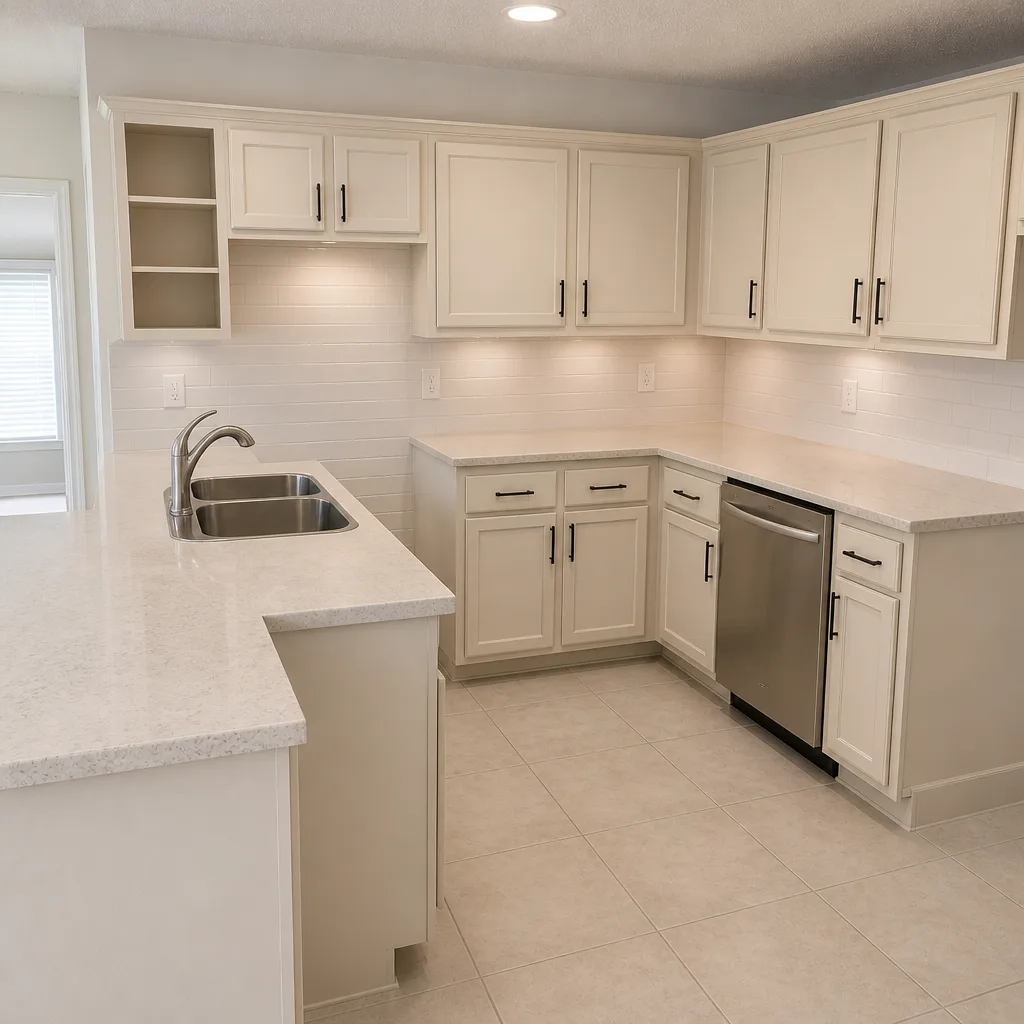 After
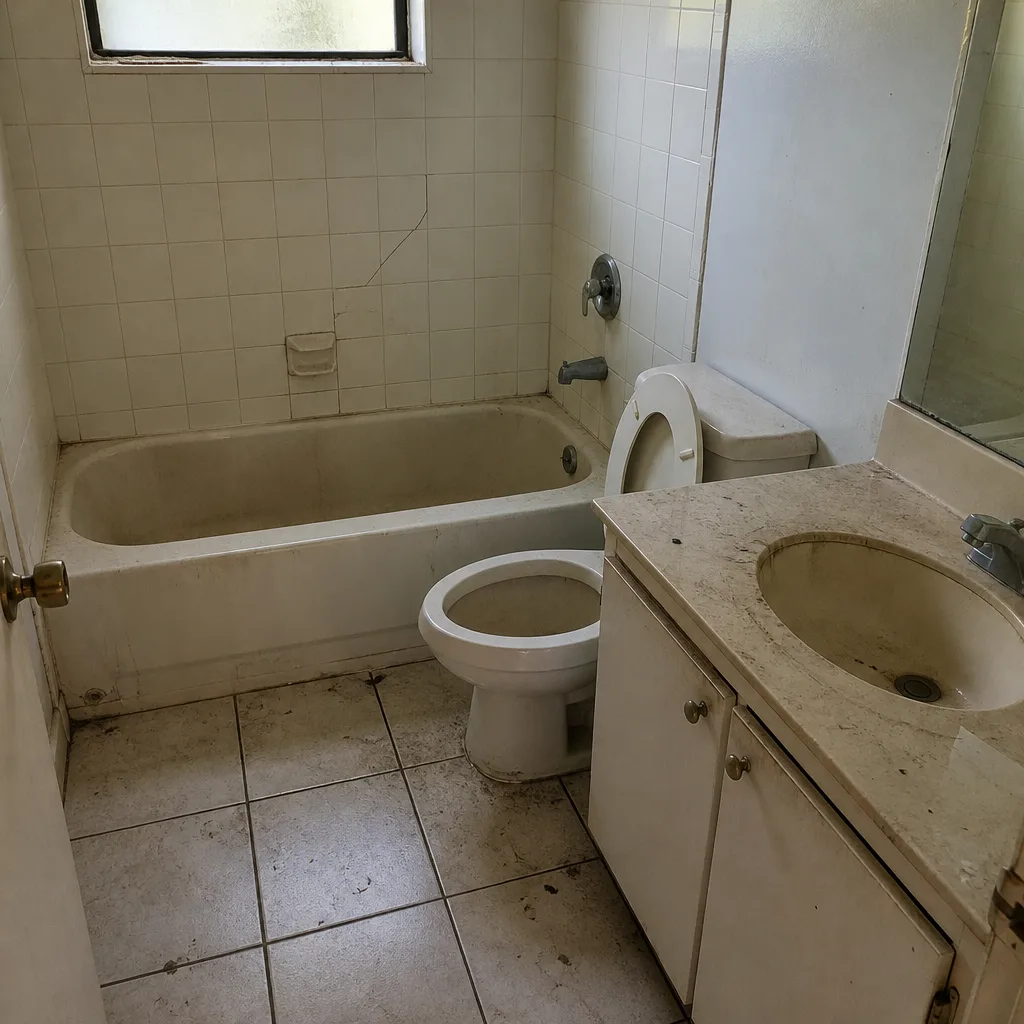 Before
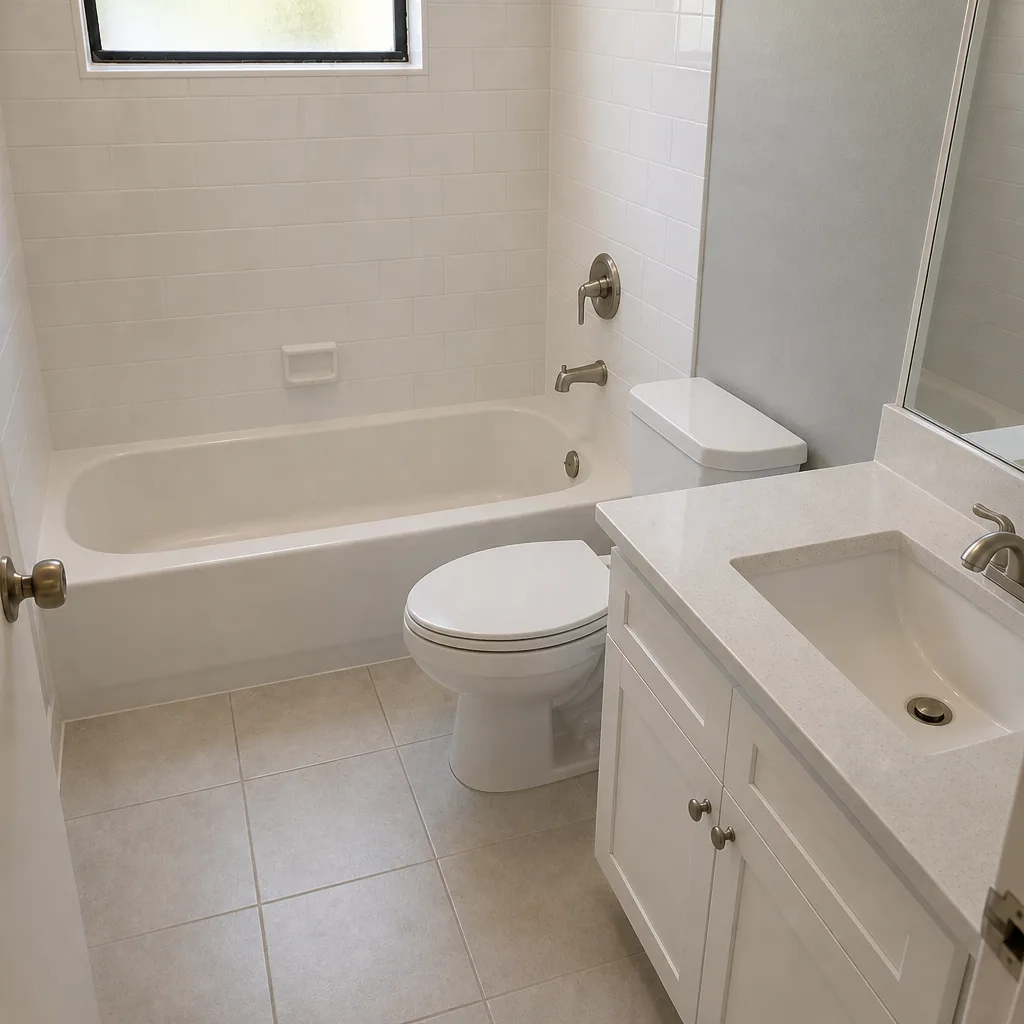 After
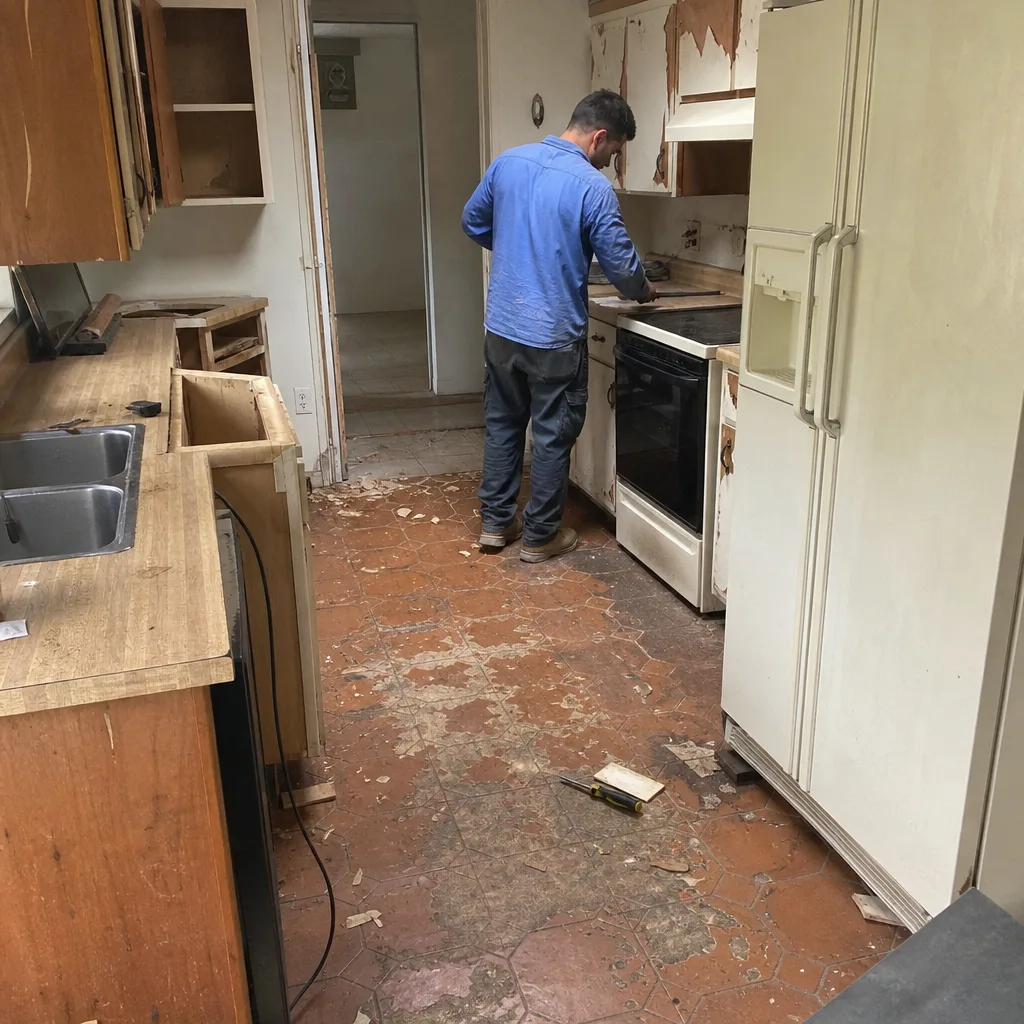 Before
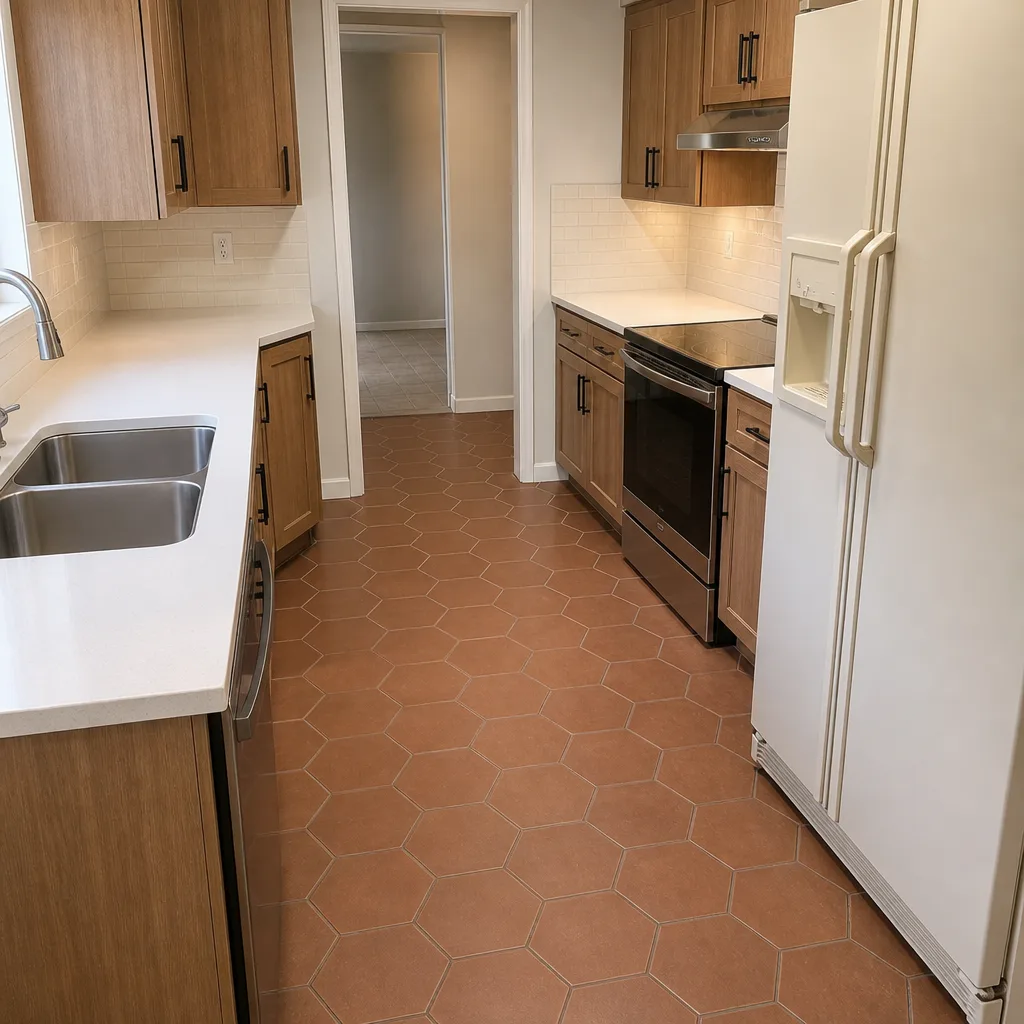 After
When to Call a Professional
Some of this troubleshooting is a reasonable DIY exercise: the tap test, checking the drain slope, refilling joints, dry-brushing efflorescence. Structural repair is different. Lifting pavers, rebuilding the base to compaction, re-establishing the grading, and diagnosing a leak under hardscape is work that should go to a professional with the right equipment, or you’ll be repeating the exercise. The same goes for anything near the base of a wall or a structure, where the soil conditions and drainage affect more than just the driveway.
Call us when the diagnosis questions start to overlap – a paver section that’s settled and keeps settling, a leak you suspect running under the pavers, a driveway that’s pooling water against the house, or a repair quote that didn’t include a diagnosis. At The Hammocks Construction we offer free estimates in The Hammocks – call (844) 797-9354. We answer 24/7. Fast dispatch from 7am to 7pm, Sunday through Friday, closed Saturday. Our technicians have up to 13 years of experience, and every repair starts with an actual diagnosis, not a guess.
Frequently Asked Questions
It depends on whether the repair is cosmetic or structural. Joint re-sanding across a full driveway is a modest job; repairing a settled section where the base needs to be dug out and rebuilt costs more because it involves lifting pavers, rebuilding the base in compacted lifts, re-grading, and re-sanding. The written estimate sets the final price. Call (844) 797-9354 for an exact quote – estimates are free.
Because the base layer under the pavers is taking on water and losing compaction, or because a leak or roots are moving the soil beneath it. Re-leveling without addressing the water source means the base fails again at the first heavy rain. Fixing the base and the drainage is what stops the cycle.
Only if the pavers are still level and tight and the cause is genuinely joint erosion. If the pavers are also moving underfoot or the section has visibly dropped, the base needs to be addressed. Re-sanding over a failed base is a short-term fix. Call (844) 797-9354 and we’ll tell you which category you’re in – estimates are free.
Efflorescence – salts that migrate to the surface with water and crystallize as they dry. It’s more common in a climate with frequent wet-dry cycles, and it’s usually cosmetic. Don’t pressure wash it or hit it with harsh acid; dry-brush and use a manufacturer-approved cleaner, and find the water source if it keeps returning.
Lift a paver in the sunken area and check the bedding sand and base. If they’re damp when everything else has been dry for days, suspect a leak. Check irrigation lines, hose bib runs, and any plumbing under the section. A technician can trace it before rebuilding the base, so you don’t rebuild on top of a live problem.
Often yes, depending on how close the fence sits to the paver edge. A root barrier can usually be installed along the paver edge without pulling the fence. If the fence posts are directly set into the paver area, that’s a bigger repair. A site inspection will confirm which one you’re looking at. Call (844) 797-9354 for a free estimate.
Will the price change once work starts?
Not on a written estimate. We quote the scope, and the written estimate is what you pay. If a hidden condition shows up once pavers are lifted – a leaking line, a deeper base failure than the surface suggested – we tell you before doing anything beyond the scope. That’s the only honest way to handle a repair where you can’t see everything until the pavers come up.
The Bottom Line
Most driveway and paver problems in The Hammocks are diagnosable before money changes hands. The tap test and a walk of the surface separate joint erosion from structural failure. Efflorescence is usually cosmetic and needs the right treatment, not a pressure washer. Roots from ficus, palms, and shrubs are a known source of edge lifting, and a root barrier stops them from returning. And a legitimate repair always starts with a real diagnosis and ends with a rebuilt base, not a re-sanded surface. If you can name the cause, you can judge the quote. That’s the whole game.
Our team at The Hammocks Construction handles paver diagnosis, repair, and installation along with the rest of the exterior and interior scope, so the driveway problem doesn’t get farmed out to four different contractors. Call (844) 797-9354 for a free estimate. We answer 24/7. Fast dispatch from 7am to 7pm, Sunday through Friday, closed Saturday.
Written by the team at The Hammocks Construction.